Overview
In order to engage your audience it’s important that the design of your articles represents your brand and displays your content in a compelling way.
This guide explains how you can:
- Add content sources for an article section
- Select a layout
- Style the section
- Style the articles
Adding an article block
To add an article block to your newsletter navigate to your template via 'Templates' in the left hand navigation and tab to the ‘Body’.
Then click ‘+ Add’ and select ‘Articles’.
Configuring content for an article block
To add content to the article block, click on the 'Article' block.
Add a section title, select or add one or more RSS feeds or sitemaps and specify the number of articles and the time period.
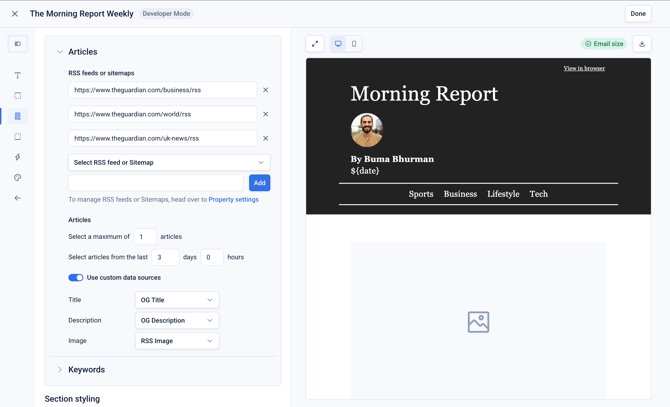
In the image above, one article will be selected that has been published in the last three days, from the three RSS feeds that have been added for the section.
Custom data sources
By default Echobox will use the Open Graph data sources to render the article details such as the image, title, description.
This can be overridden by enabling 'Use custom data sources', and specifying the source for the title, description and image.
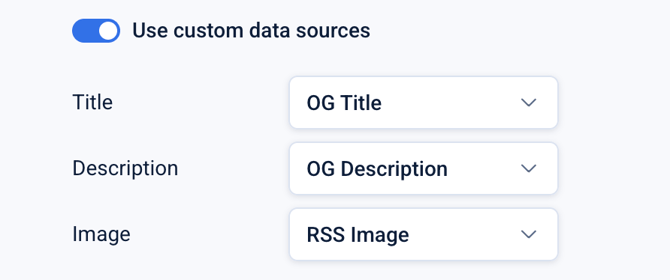
The data sources available are: OG, RSS, and Twitter.
Keywords
In the 'Keywords' menu you can add additional constraints that govern the articles that will be selected.
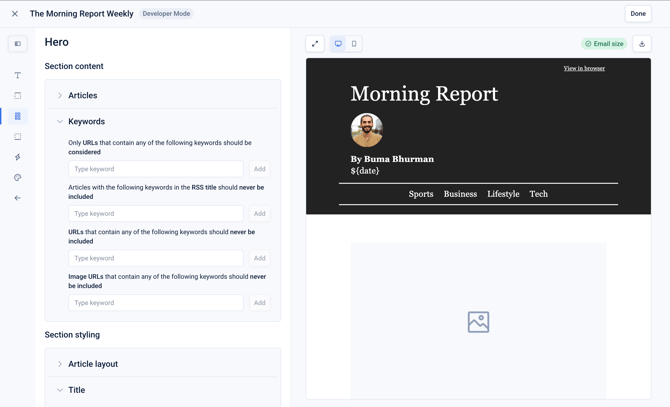
You can choose to:
- Only include article with specific keywords in the URL
- Exclude articles with keywords in the RSS title, URL or image URL
This allows you to exclude articles about certain keyword topics that you do not wish to be to shared via newsletters.
Selecting your article layout
In the 'Article layout' menu you can select the layout for your article section. It will apply to all articles in the section.
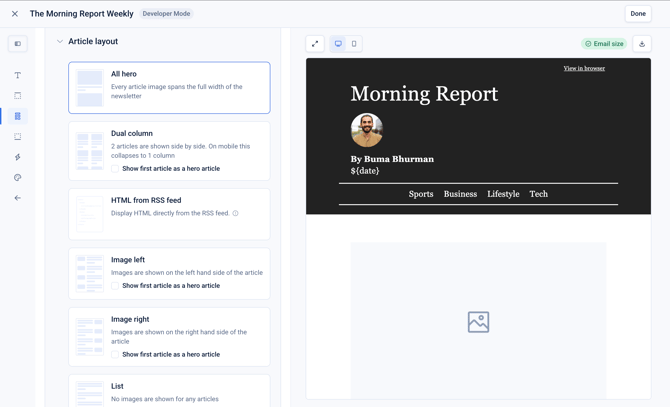
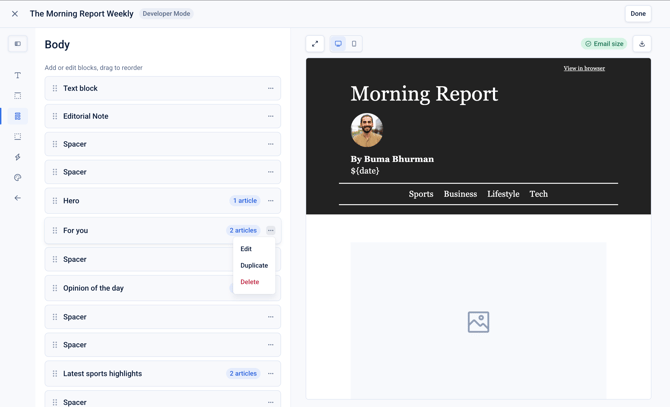
If you wish to have different layouts for the articles in the section, for example two article with 'Image left' and two articles with 'Image right', then click on the 3-dot menu for the article block, click 'Duplicate' and modify the layout for the duplicated article block.
See more details on layouts here.
Styling the article section
Section styling refers to the section colours, title and title divider. There are two menus in the 'Section styling' section that allow you to configure the article layout and the title of the section.
The title can be optionally displayed or hidden by toggling the toggle. In the 'Title' input you can add the title for the section.
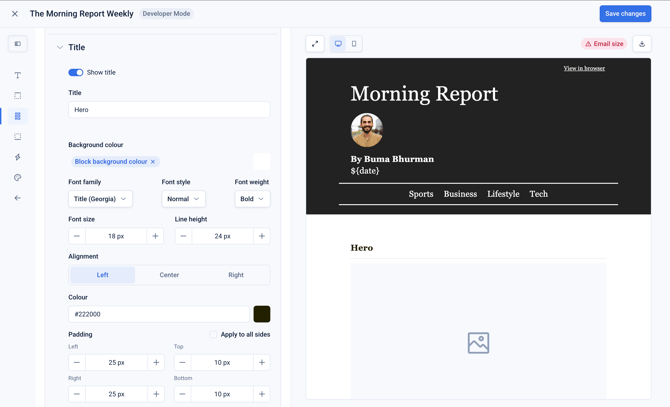
Beneath the 'Title' input you can style the section title by configuring various options such as the background colour, font family, font style and size, alignment and padding.
If the section title is configured to display, an additional 'Divider' menu will display with various configuration options.
If you wish to display the title without the divider, simply disable the toggle.
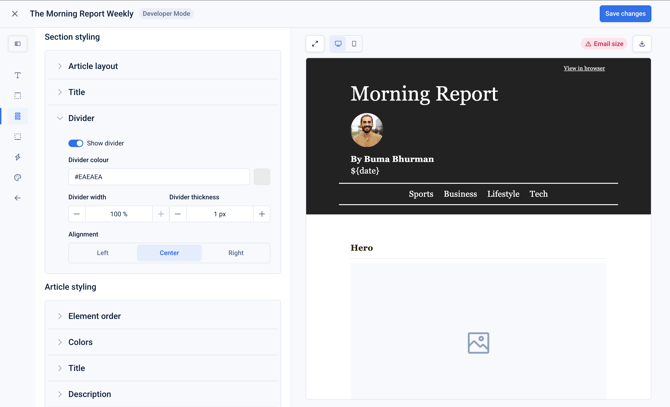
In this menu you can configure the divider colour, width, thickness and alignment.
Styling the articles
Article styling refers to settings that alter the display of the article elements.
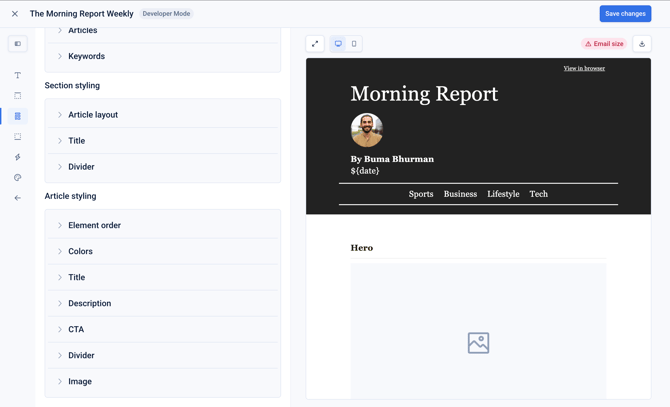
The styling configuration can be accessed via each sub-menu under 'Article styling'.
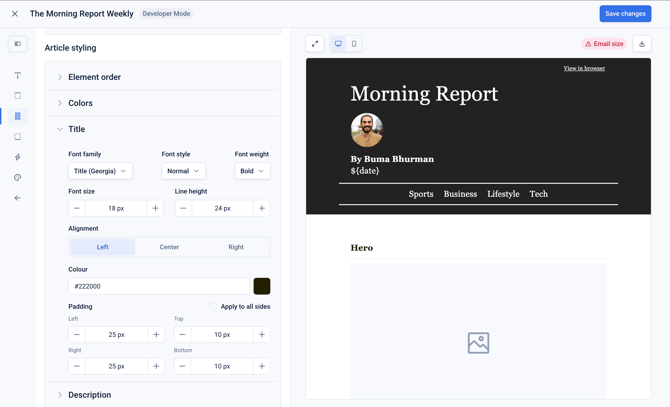
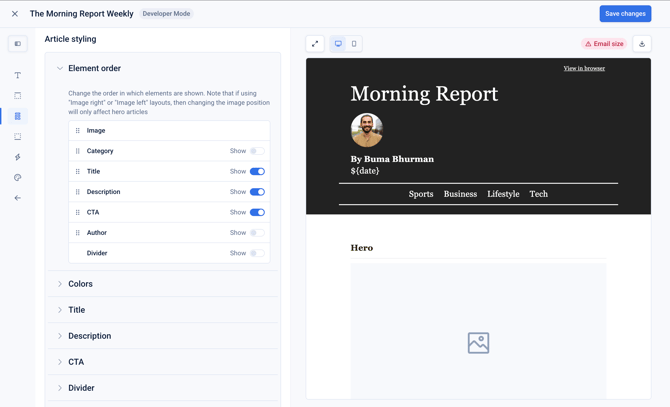
Expand the 'Element order' menu to enable or disable the display of various article elements. Use the drag handles to the left of the article element to reorder them, for example if you wish to dispaly the title above the image.
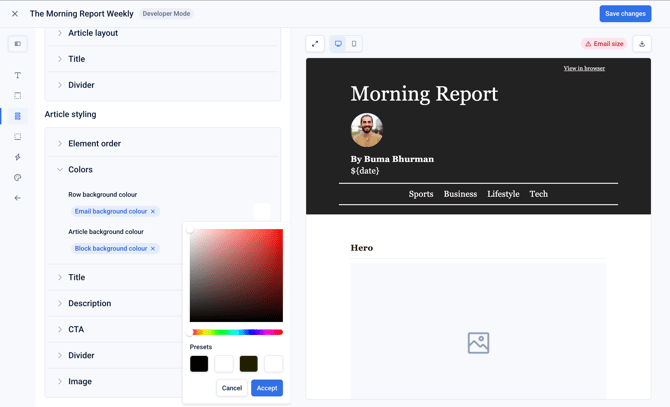
Colors
Within the 'Colors' sub-menu you can select the row background color and the article background color.
Styling article elements
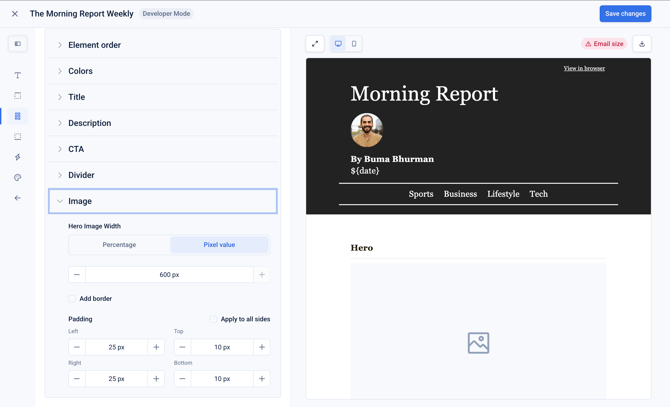
Within each of the sub-menus you will be able to configure a range of styling options such as the font family, style, weight, font size, alignment, color and paddding.