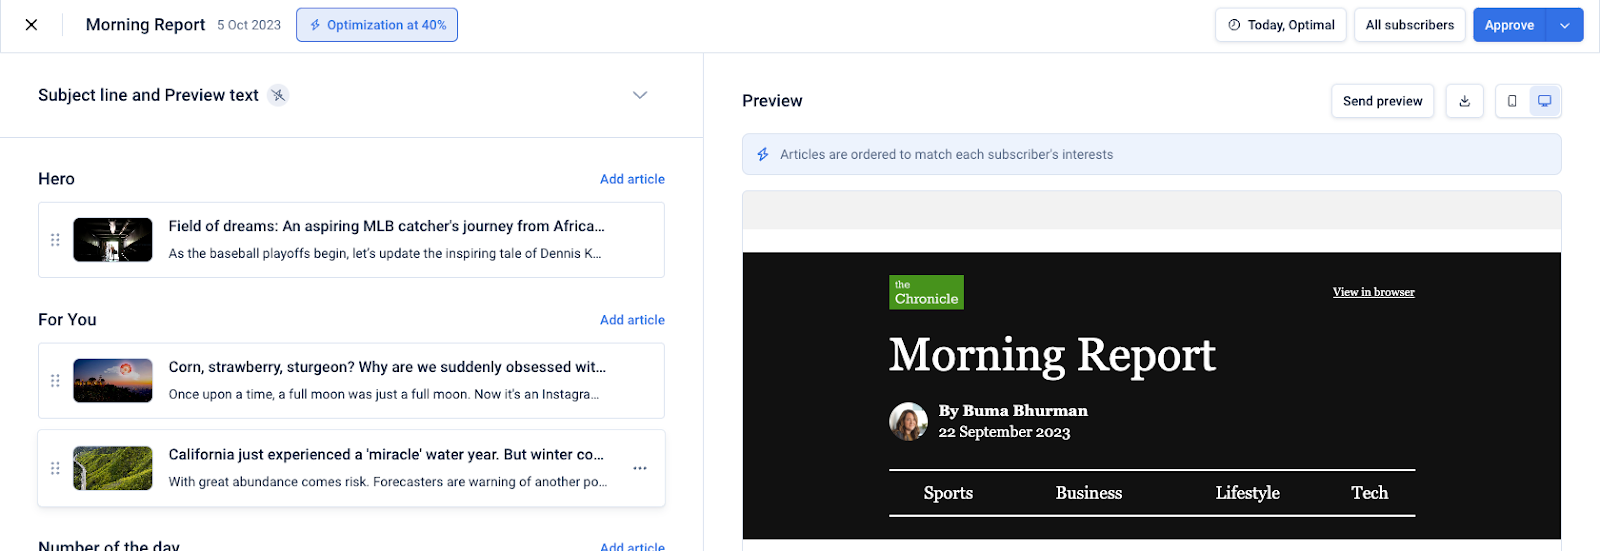
Welcome to Echobox Email! This page runs through everything you’ll need to get up and running, and start sending your first Editions.
Before you start
Echobox works by selecting the content that your individual subscribers are most interested in, and using that to automatically create and send email newsletters.
In order to do this, you will need the following:
Content feeds
In order to ingest articles from your website, you will need to connect content feeds to Echobox, any of RSS, XML, ATOM feeds or a sitemap. This allows Echobox to see when new articles are published, and whether they should be included in your newsletters.
See here for more information.
Access to DNS settings
Echobox uses AWS for sending emails through our platform. In order to send emails from your own domain (e.g newsletter@thenews.co.uk ), we will require you to complete DKIM and DMARC protocols. This allows us to send emails on your behalf, and helps ensure that you have a strong deliverability.
See here for more information.
Emails to send from
An email address that you will use for sending Editions and receiving replies:
- From email - the email address that you will use to send Editions
- Reply-to - An address for any replies
- Return path - The place to which any bounces will be redirected (not your regular inbox)
Install the Web Tag
The Web Tag passes anonymised page view data to Echobox, so we can select the best performing content on your site for inclusion in your newsletter.
For details on how to install the Web Tag please see here.
Create your Property/Campaign
As part of your Onboarding Service the Echobox team will help to create your property and campaign(s).
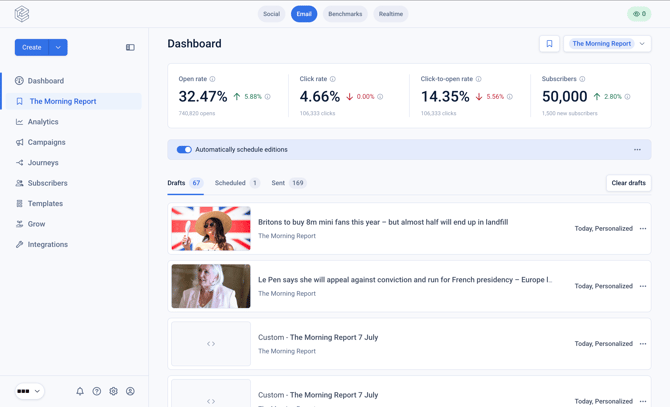
Once your Property is created, you can start making Campaigns. A Campaign is a newsletter that is sent on a regular cadence. For example, within your publication you might have a morning top stories newsletter, a weekly politics blast, etc. These are all Campaigns.
Each Campaign has a number of Editions, which are individual emails that you send out to subscribers.
In your main Dashboard screen you will see the Campaign selected in the dropdown in the top right.
Customize your template
Once your Campaign is created, you can decide how you want your emails to look. Templates can be configured by navigating to 'Templates' in the left hand navigation bar.
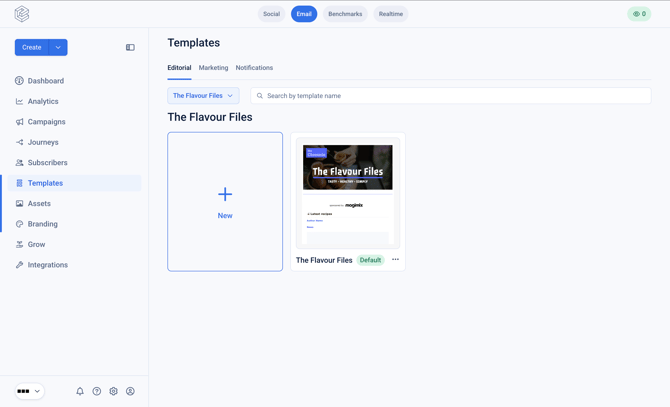
For more details on how to work with templates please see here.
Choose your automation & personalization settings
Echobox optimizes your newsletter performance through automation and personalization.
Automation
Navigate to the relevant Campaign by clicking on 'Campaigns' in the left hand navigation, and then select 'Automation.
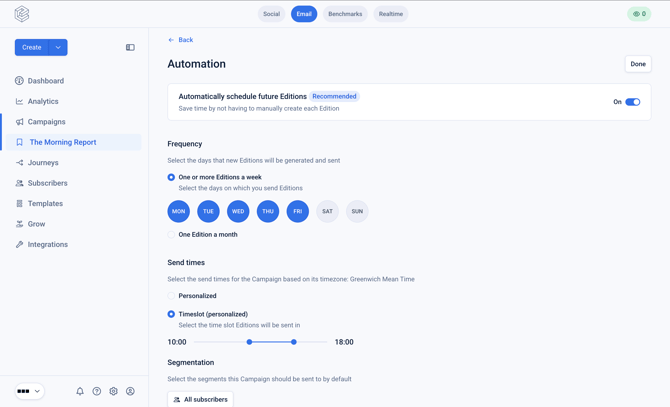
From here you can:
- Automatically schedule future Editions - this will allow you to automatically curate and send Editions in accordance with your settings
- Frequency - specify the days on which you wish to send Editions
- Send times - specify a timeslot within which to send Editions or select ‘Optimal’ which will send the edition at the time each subscriber is most likely to open it
Personalization
Content personalization refers to the ability to tailor the content included in the newsletter for each recipient, based on their preferences.
To configure it navigate to the relevant template and then select 'Personalize' in the left hand navigation menu.
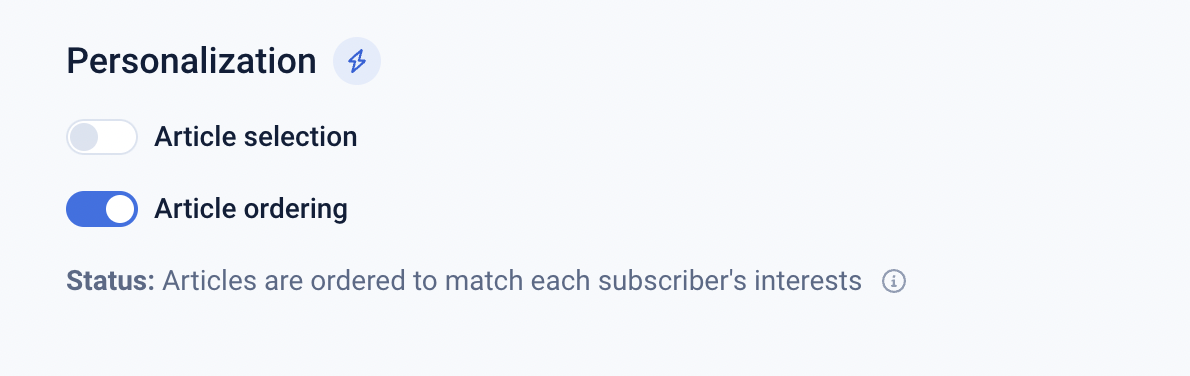
Under the Personalization section you can toggle on or off both of the personalization settings.
- Article selection - this will allow Echobox to select the articles in each Edition in accordance with each subscribers preferences
Article ordering - this will allow Echobox to order the articles in each Edition in accordance with each subscribers preferences.
For more details see here.
Upload your audience
This step is applicable for those with an existing newsletter/subscriber base. If you are starting a Campaign from scratch, you just need some way of adding in new subscribers. See here for all the ways that Echobox can help you grow your lists.
Once your template is in place, you just have to upload your existing newsletter audience. This can be done via CSV upload on the Dashboard.
If you want to draw in subscribers from another database, see here.
Curate and Send!
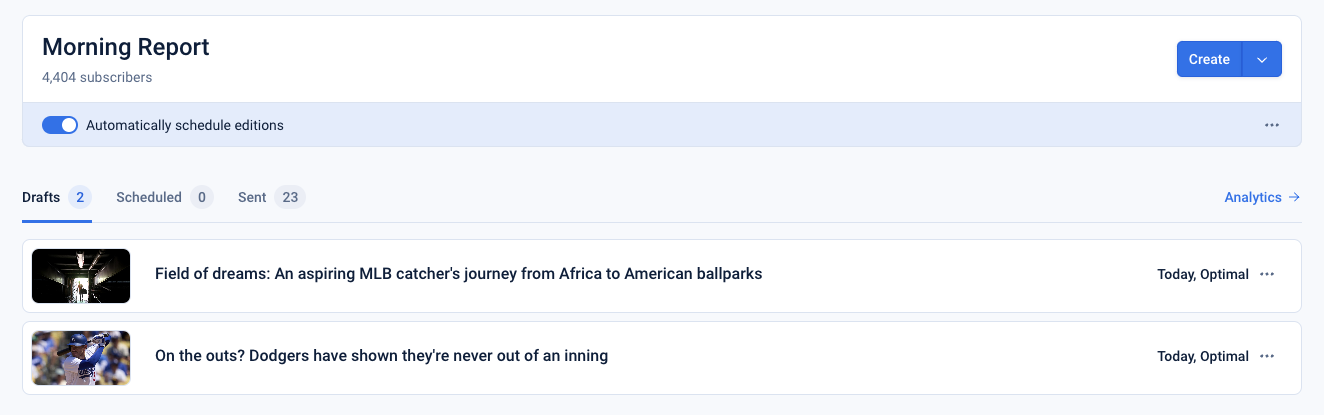
Once you’re ready to send, click “Create” on the Dashboard, and you will be taken to the Curate page, where you can edit your Edition.
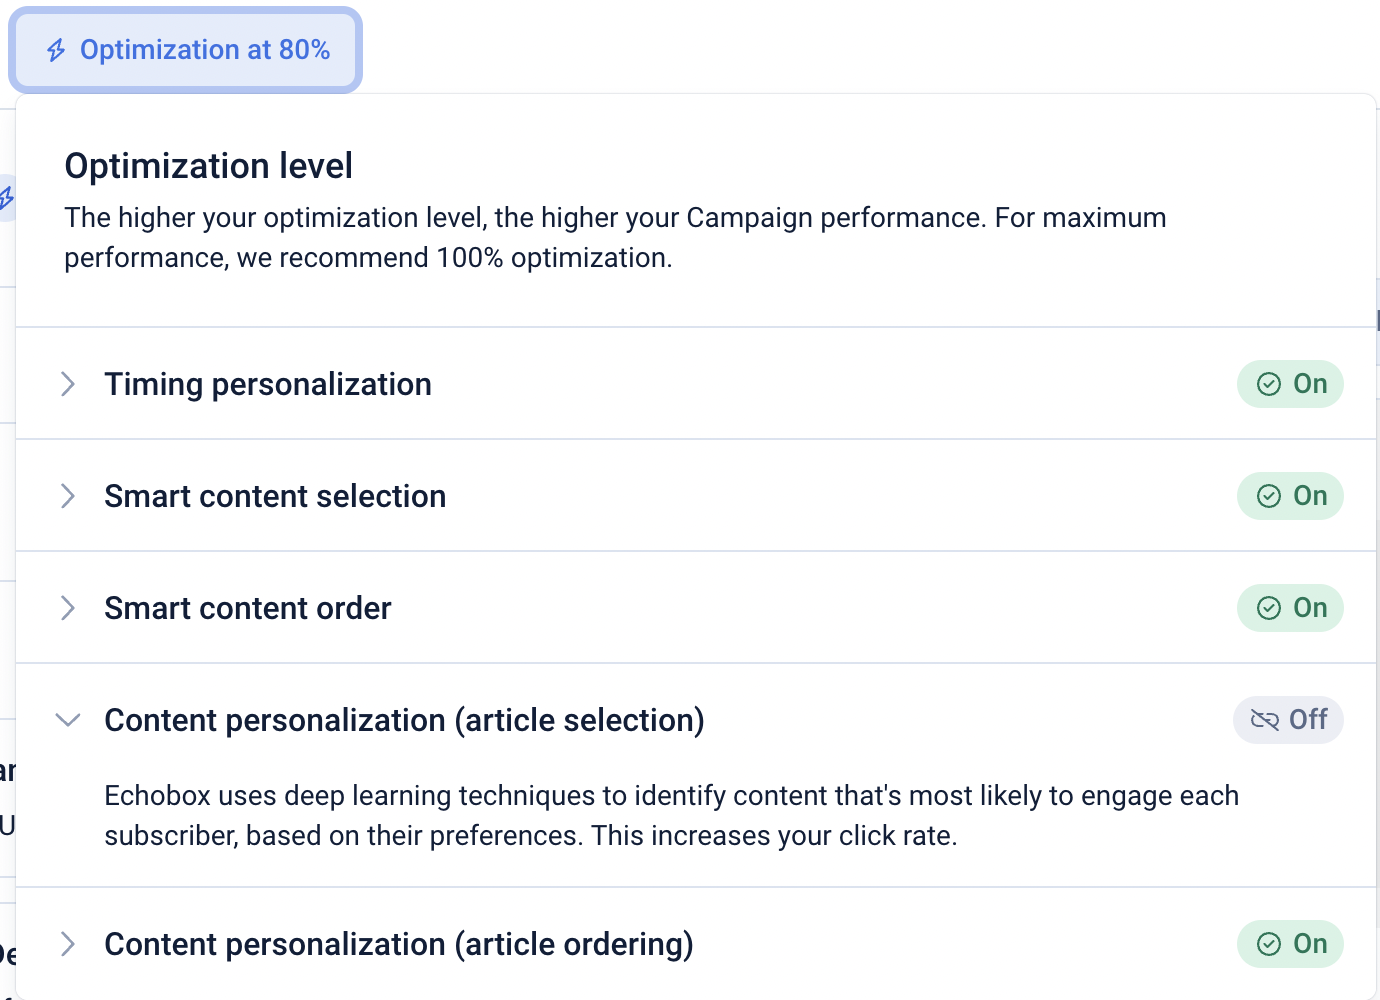
At the top of the Curate page you can open the Optimizations menu which will show you the automation and personalizations settings you have enabled to optimize your Campaign, with an explanation of each setting.
Allow Echobox to select the best articles for your subscribers or add your own. Reorder the articles if you wish using the drag and drop functionality.
Optionally, add an editorial note, set the send time and click ‘Approve’!