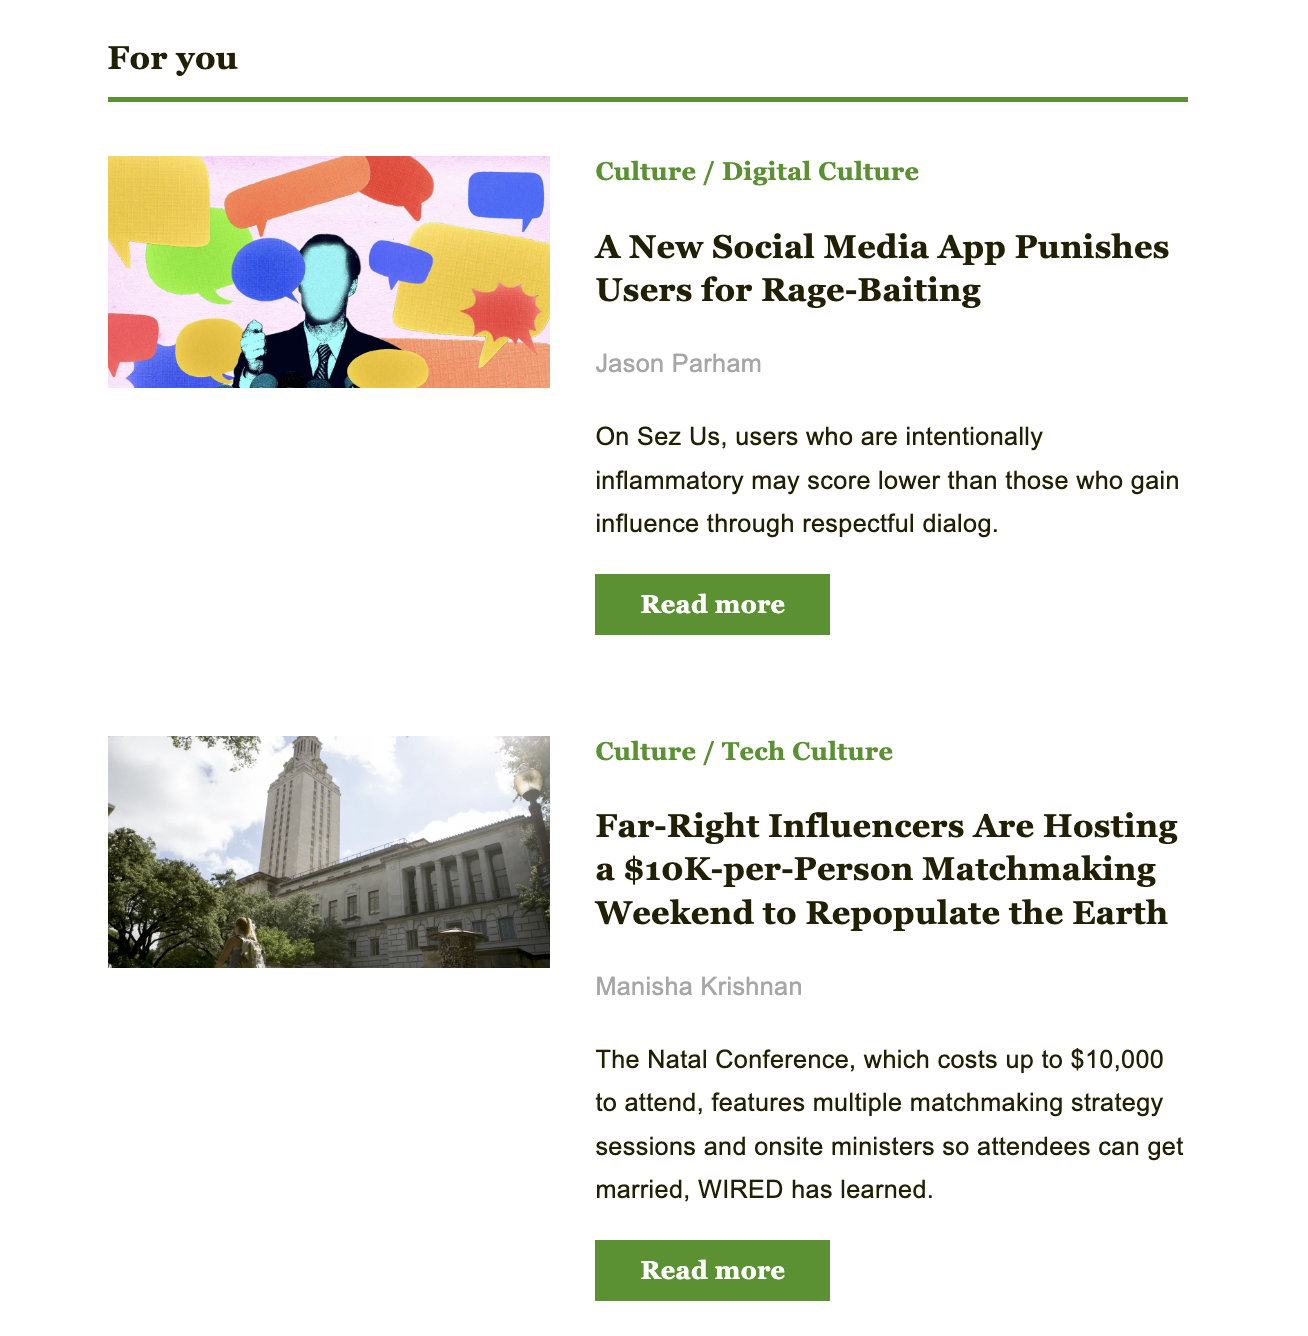
Overview
Displaying the author and category commonly features in newsletters and allows readers to quickly understand the topic of the content and who it was written by.
This document explains how:
- How to configure your newsletter to display the author and category
- How to style the elements
RSS feed
In order to display the category and author for an article your RSS feed will need to include those elements. It should look similar to the below:
<item>
<title>Local bakery wins award for best sourdough bread</title>
<link>https://www.example.com/news/2026/jul/06/bakery-wins-sourdough-award</link>
<description><p>A neighborhood bakery has been recognized for its sourdough bread at a regional food competition.</p></description>
<category>Food</category>
<pubDate>Mon, 06 Jul 2026 09:00:00 GMT</pubDate>
<guid>https://www.example.com/news/2026/jul/06/bakery-wins-sourdough-award</guid>
<author>Jane Smith</author>
</item>
How to configure your newsletter to display the author and category
To configure your newsletter to display the author and category values, navigate to the Editorial template.
Click on the article block in the Body and select 'Article Styling'.
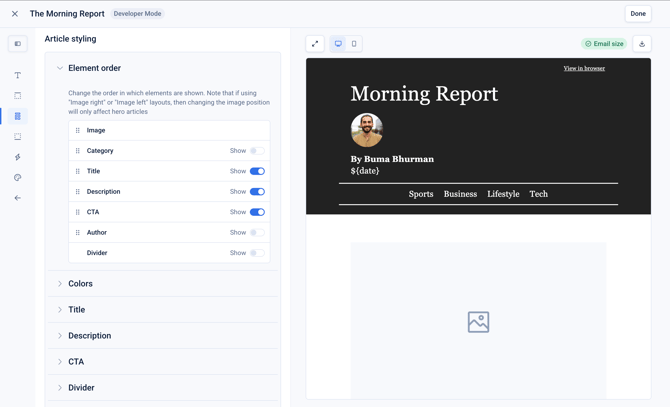
Toggle on the 'Author' and 'Category' elements to enable their display.
This lists all the elements you can display and allows you to drag and drop each element to rearrange the order.
How to style the elements
After enabling them, navigate to the 'Author' and 'Category' tabs. Here you can modify the styling controls to manipulate how the author and category values will display.
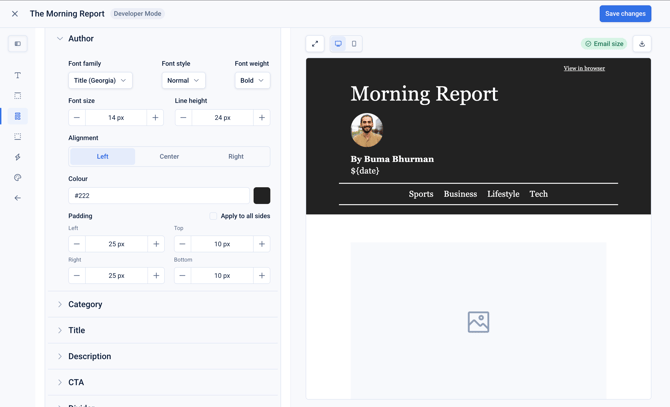
Click 'Save' to verify your changes in the newsletter preview (see below).
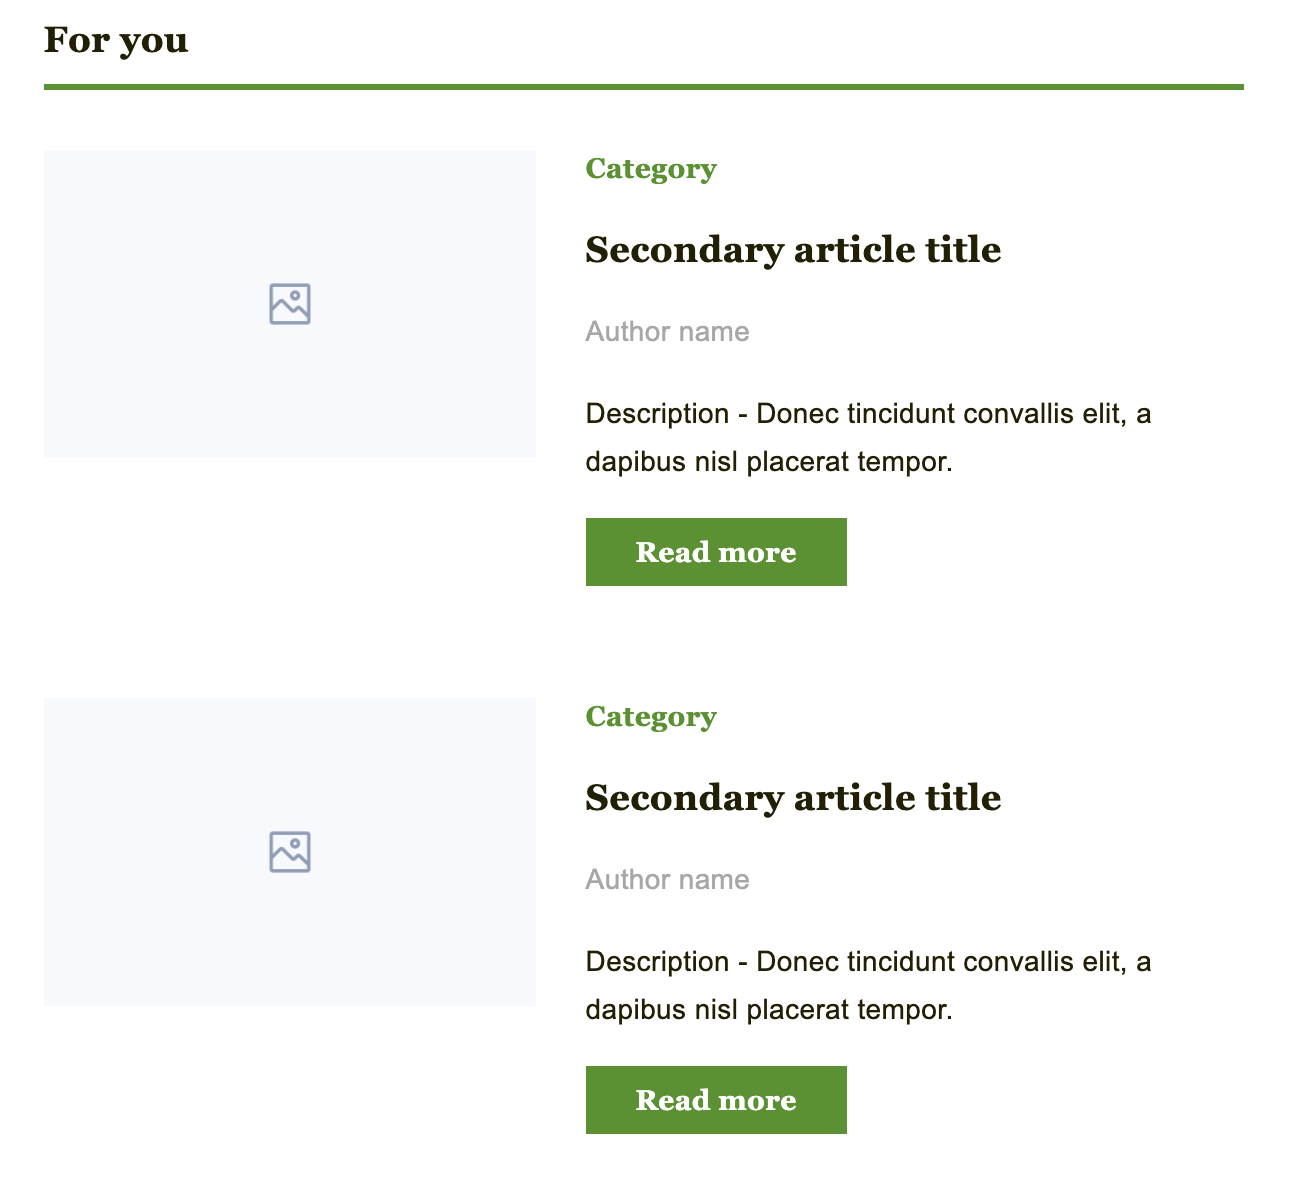
Testing with a draft newsletter
Once your configuration is complete, navigate back to the Campaign dashboard by clicking 'Done' and click 'Create' to create a draft newsletter.
This will pull through the category and author values from the feed and display them in the draft newsletter.